

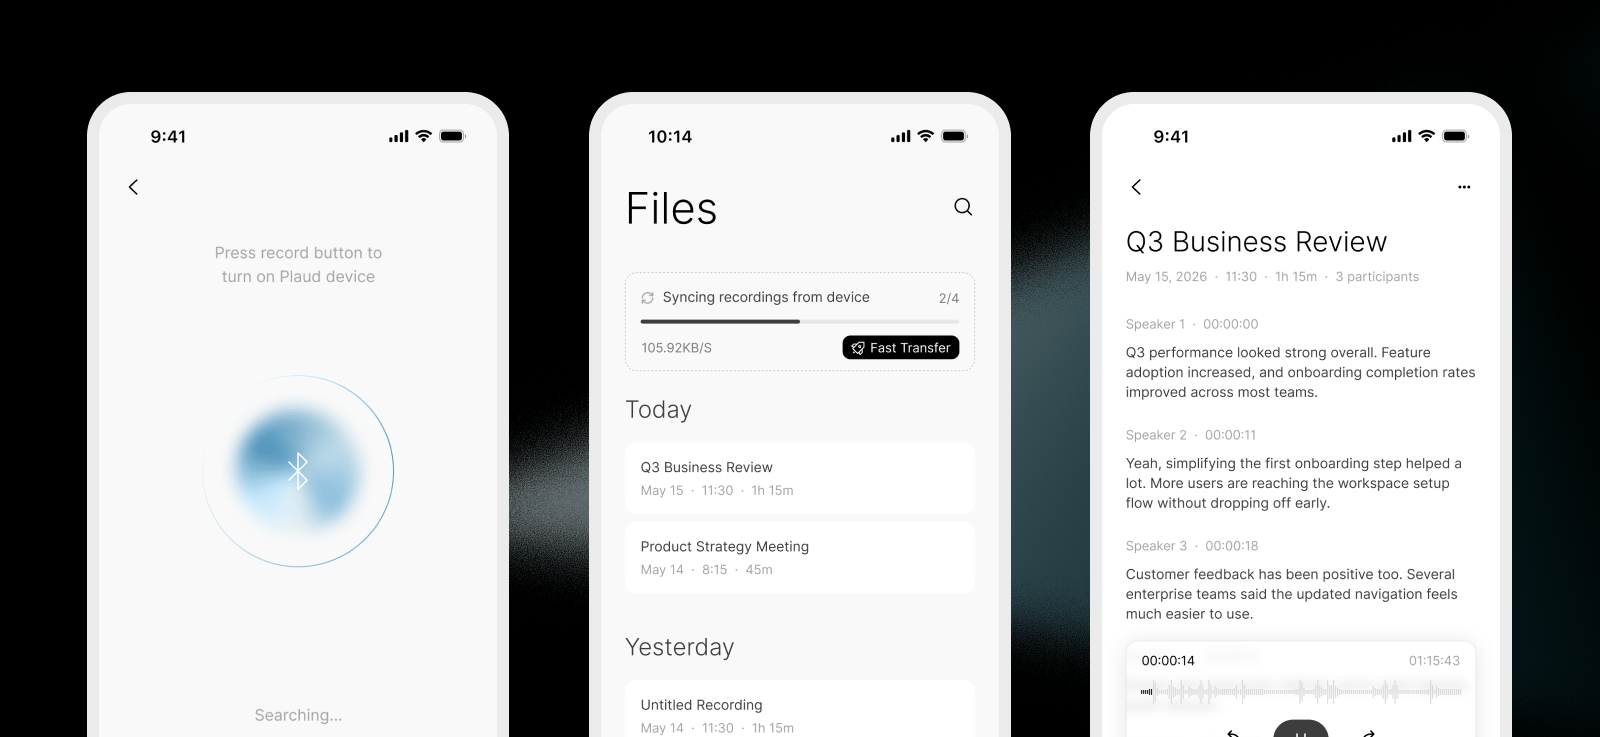
- Connects to Plaud devices
- Syncs recordings from Plaud device to mobile phone
- Uploads recordings from your users’ mobile phone to Plaud’s file storage
- Transcribes recordings with the Transcription API
Onboard to the Plaud Developer Platform
Sign in to the Plaud Developer Portal (It’s completely free with a generous device connection limit and transcription usage). Create an Embedded SDK Application to receive your Client ID and Secret Key.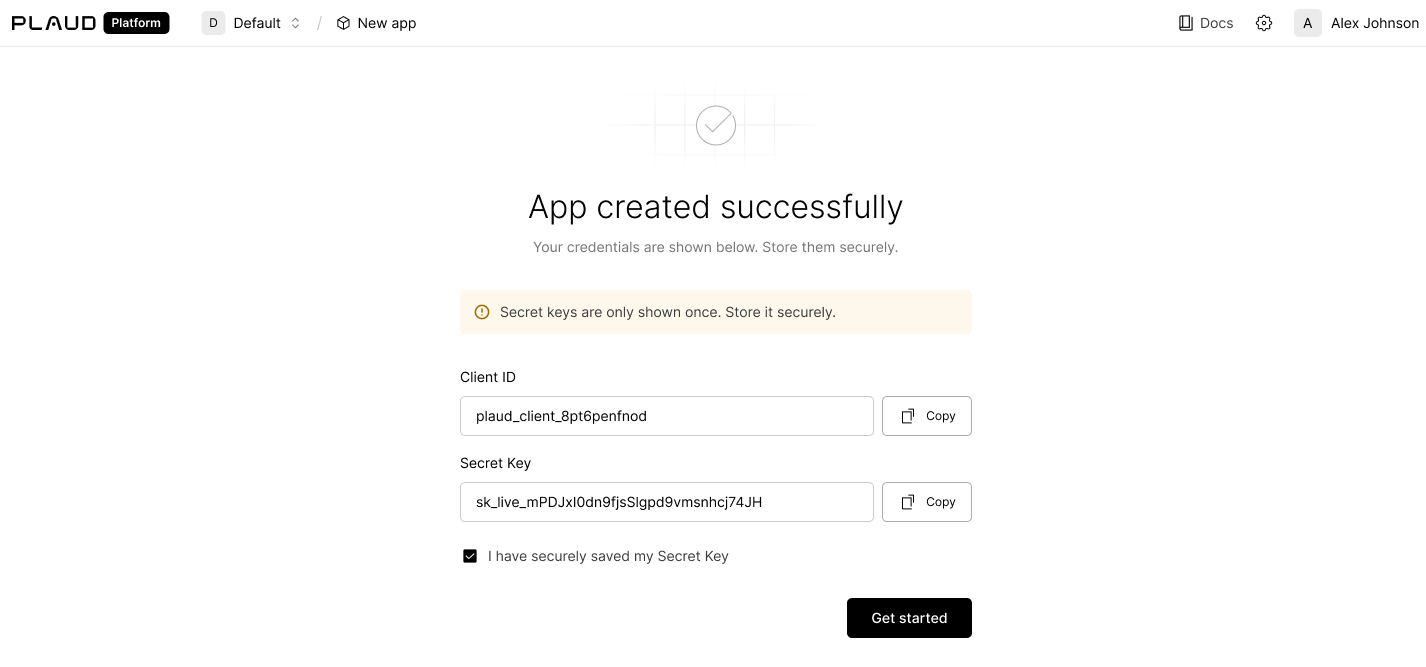
Set Up the Starter App
Prerequisites
- Android Studio (JDK 17)
- minSdk 21 (Android 5.0+), compileSdk 34
- A physical Android device — the SDK libraries are
arm64-v8a/armeabi-v7a, Android simulators are not supported - A Plaud device for end-to-end testing
Clone the starter app
You can find the GitHub repository for the starter app here.Install Android Studio to build and test your Android Starter app.
Retrieve a user token
TheUSER_ACCESS_TOKEN is the per-user JWT your backend mints by calling POST /open/partner/users/access-token. See the Authorization API reference for the full exchange flow.
Configure credentials
After navigating to the/android directory, create a local.properties file (gitignored) and add the user token, client ID, and API key (if using transcription).
local.properties
(Optional) Apply branding
Four places control the entire visual identity:App Name
Navigate toapp/src/main/res/values/strings.xml. You can modify the app name, and other text on the welcome screen.
strings.xml
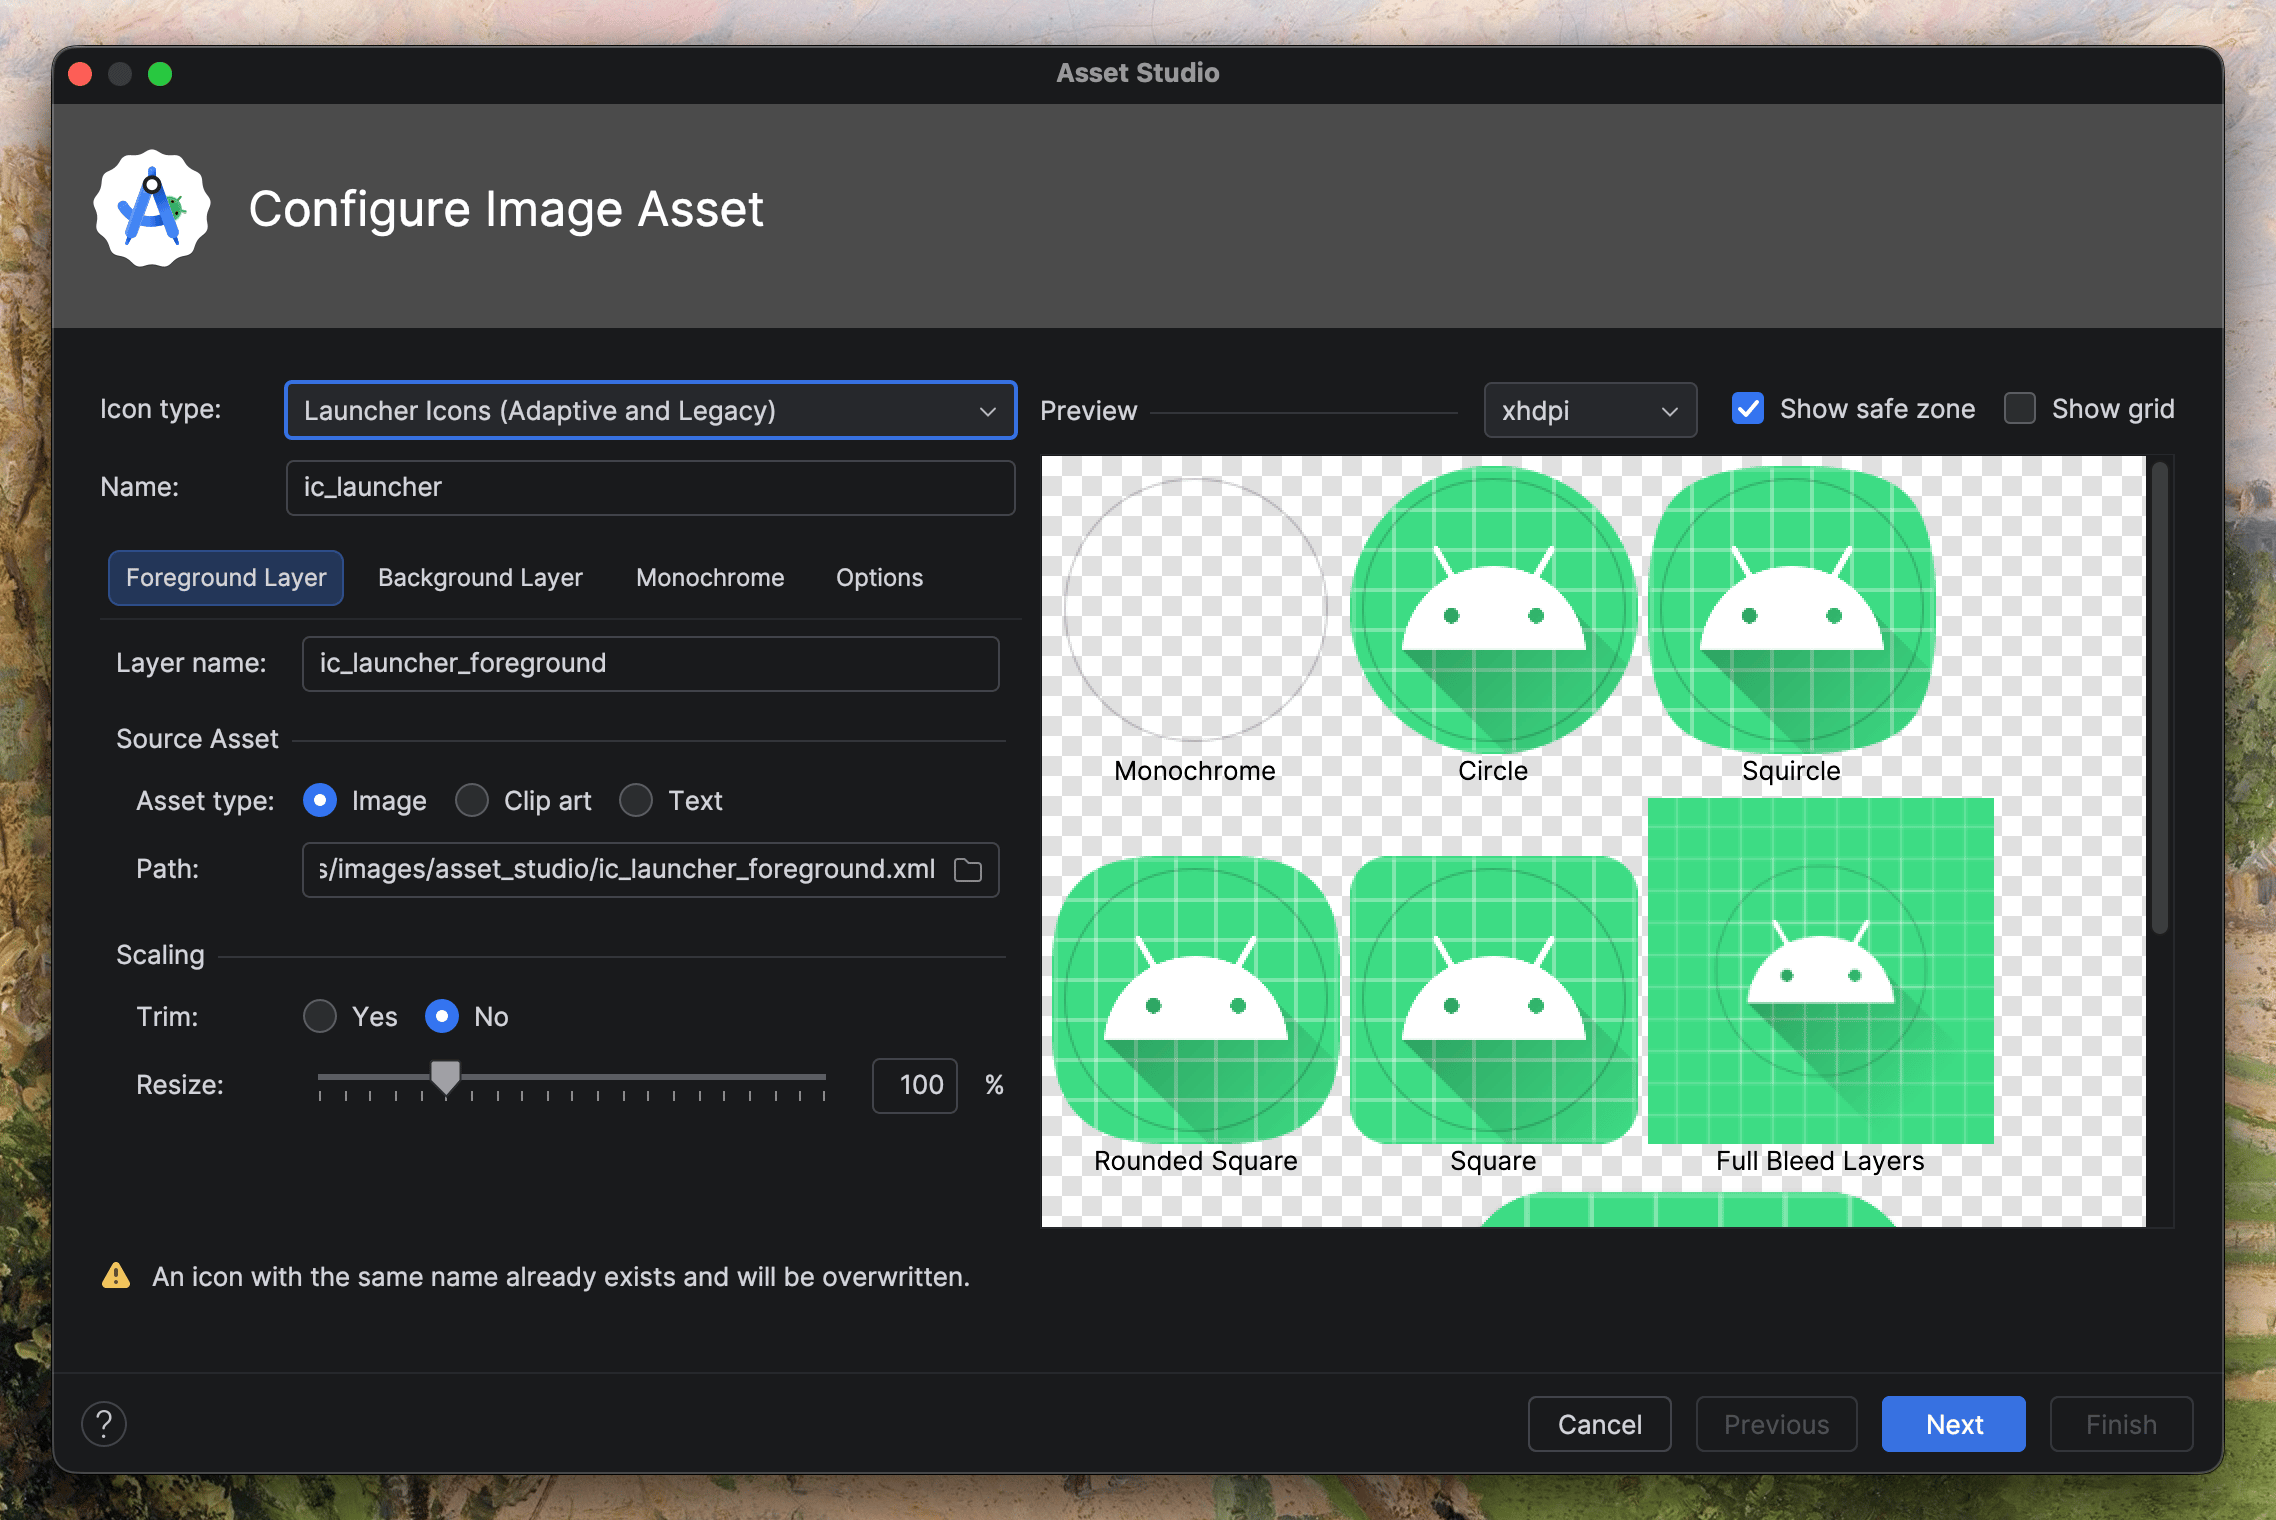
App icon
Create new image assets directly in Android Studio. Right-clickres, then go to New > Image Asset.
Theme colors
Inres/values/colors.xml, you have full control over the starter app’s primary colors and color palette.
colors.xml
Run & test with a real device
Open Android Studio, and wait for gradle to finish building the app. Once indexing and build is finished, connect your physical Android device and run the app.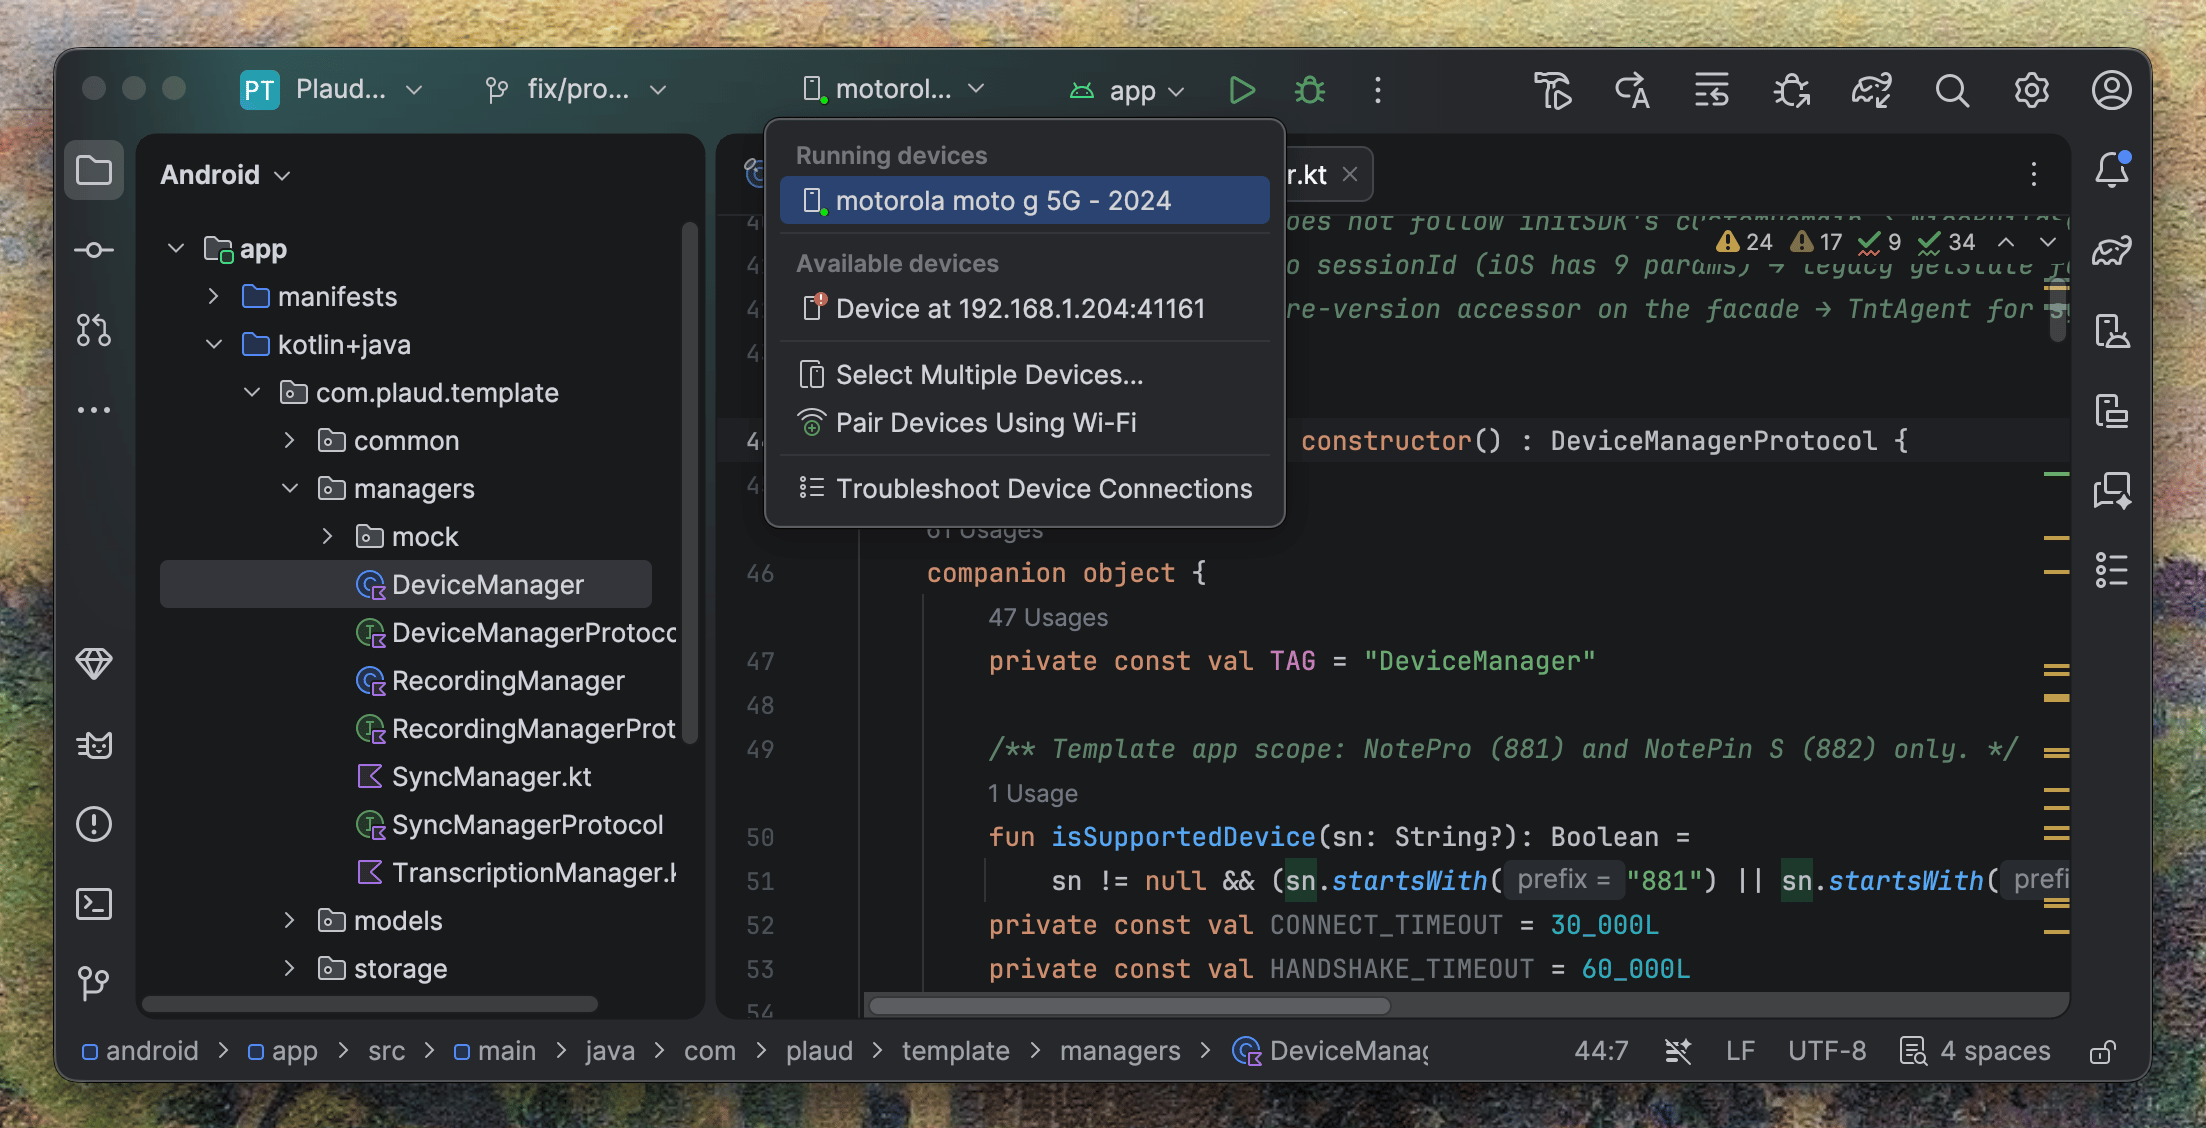
Publishing to the Google Play Store
1
Sign up for a Google Play Developer account
If you don’t have a Google Play Developer Account, you will need to sign up to publish your app to the Play Store .
There is a one-time $25 registration fee, and a verification process that may take a few days.
2
Set a unique application ID
In
app/build.gradle, replace the template’s application ID with your own unique reverse-domain identifier and bump the compileSdk. Sdk 35 is the minimum version that Google Play will accept due to security and performance APIs that are only compatible with 35+.app/build.gradle
3
replace `com.plaud.template` with your new applicationId
You can use your editor’s find and replace or this bash command to replace all strings in the
app/ directory.4
Generate an upload keystore
Play requires every build to be signed with a consistent upload key. In Android Studio, go to 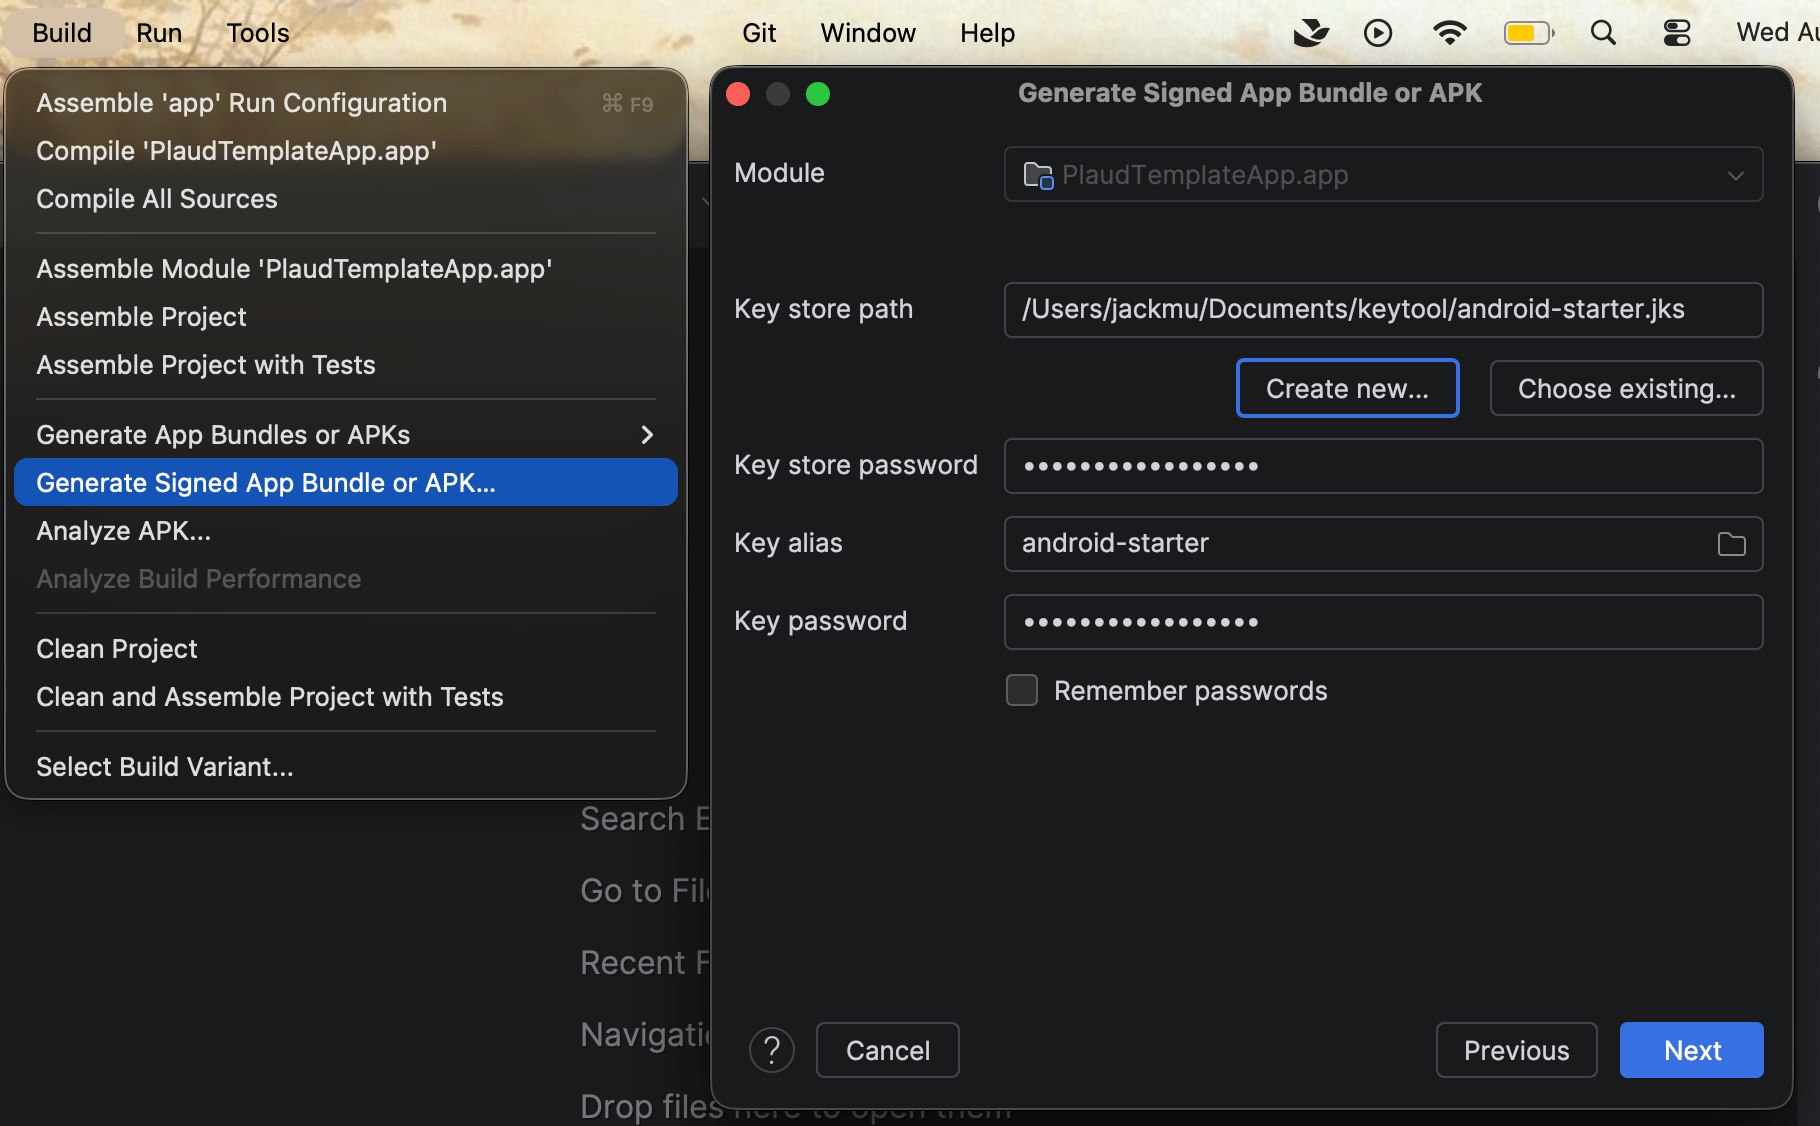
Build > Generate Signed App Bundle / APK, choose Android App Bundle, then Create new... to generate a keystore.5
Build a signed release bundle
Finish the
Build > Generate Signed App Bundle / APK flow with the release build variant. Android Studio writes the bundle to app/release/app-release.aab.6
Create your app in Play Console
In the Google Play Console, select
Create app, then set your app name, default language, app type, and free/paid status. The application ID from Step 2 is claimed when you upload your first bundle.7
Upload to a testing track
Under 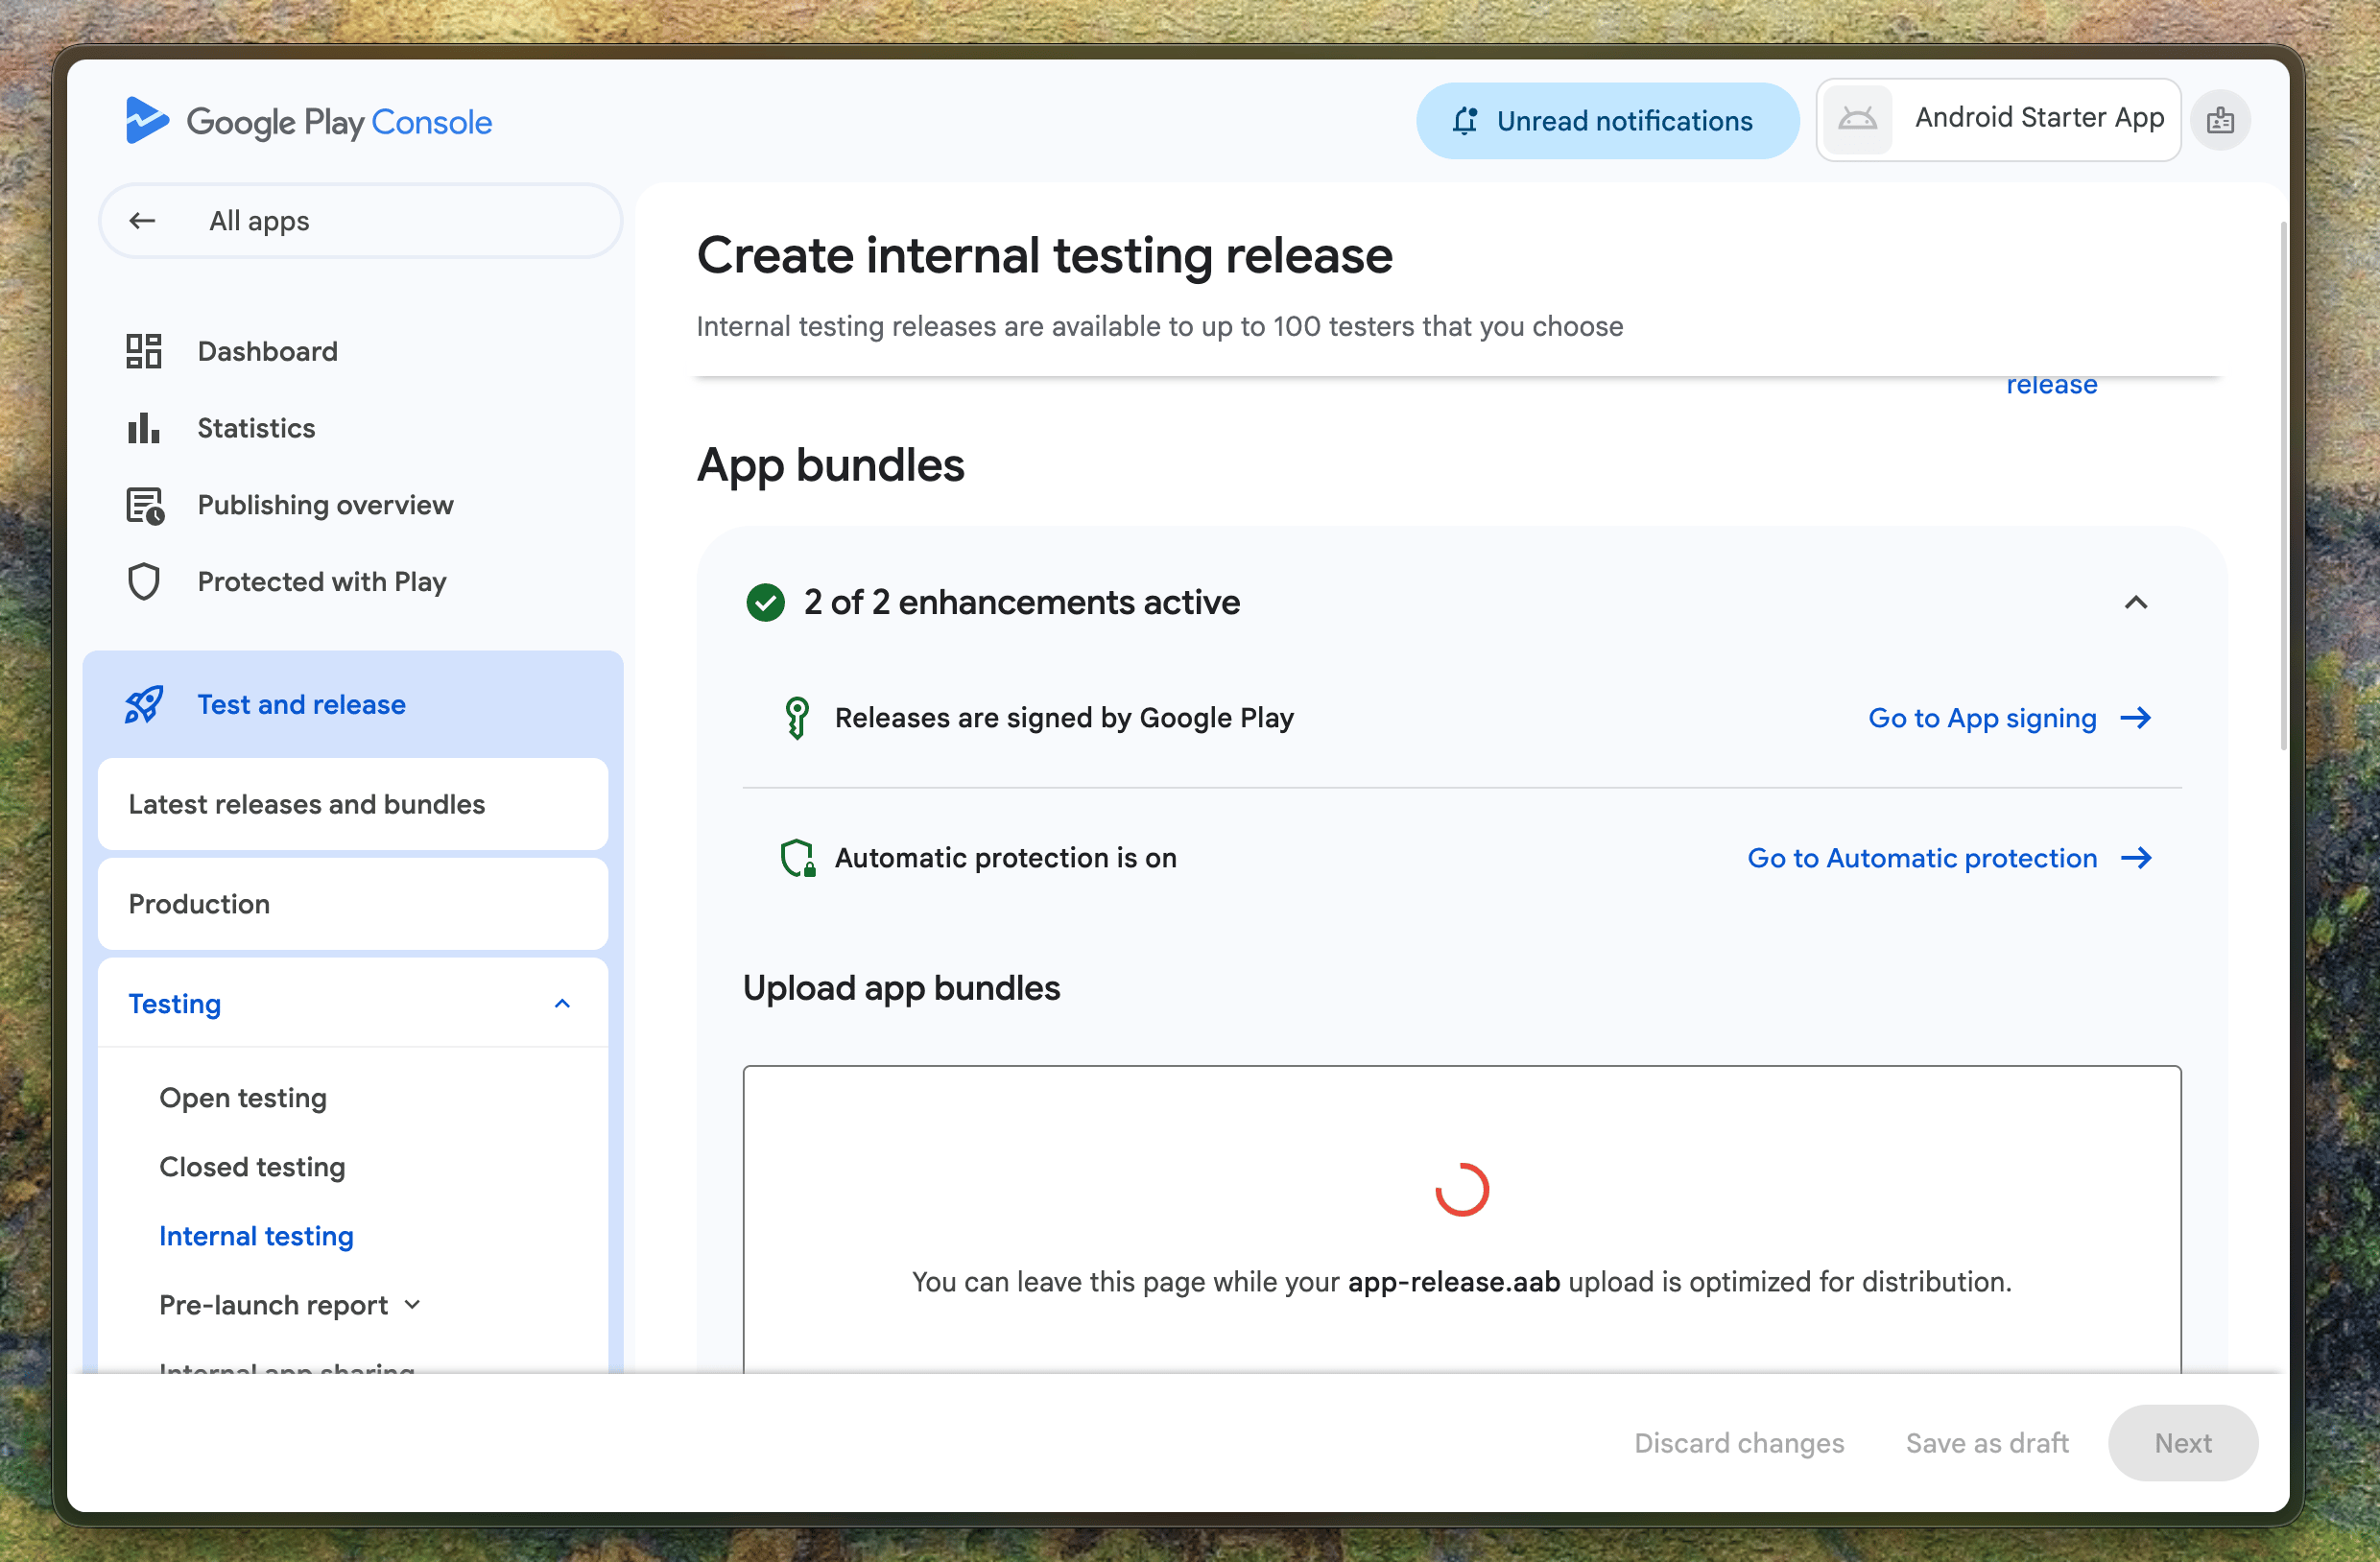
Testing > Internal testing, create a release and upload your .aab.8
Enable Internal App Sharing
Under the 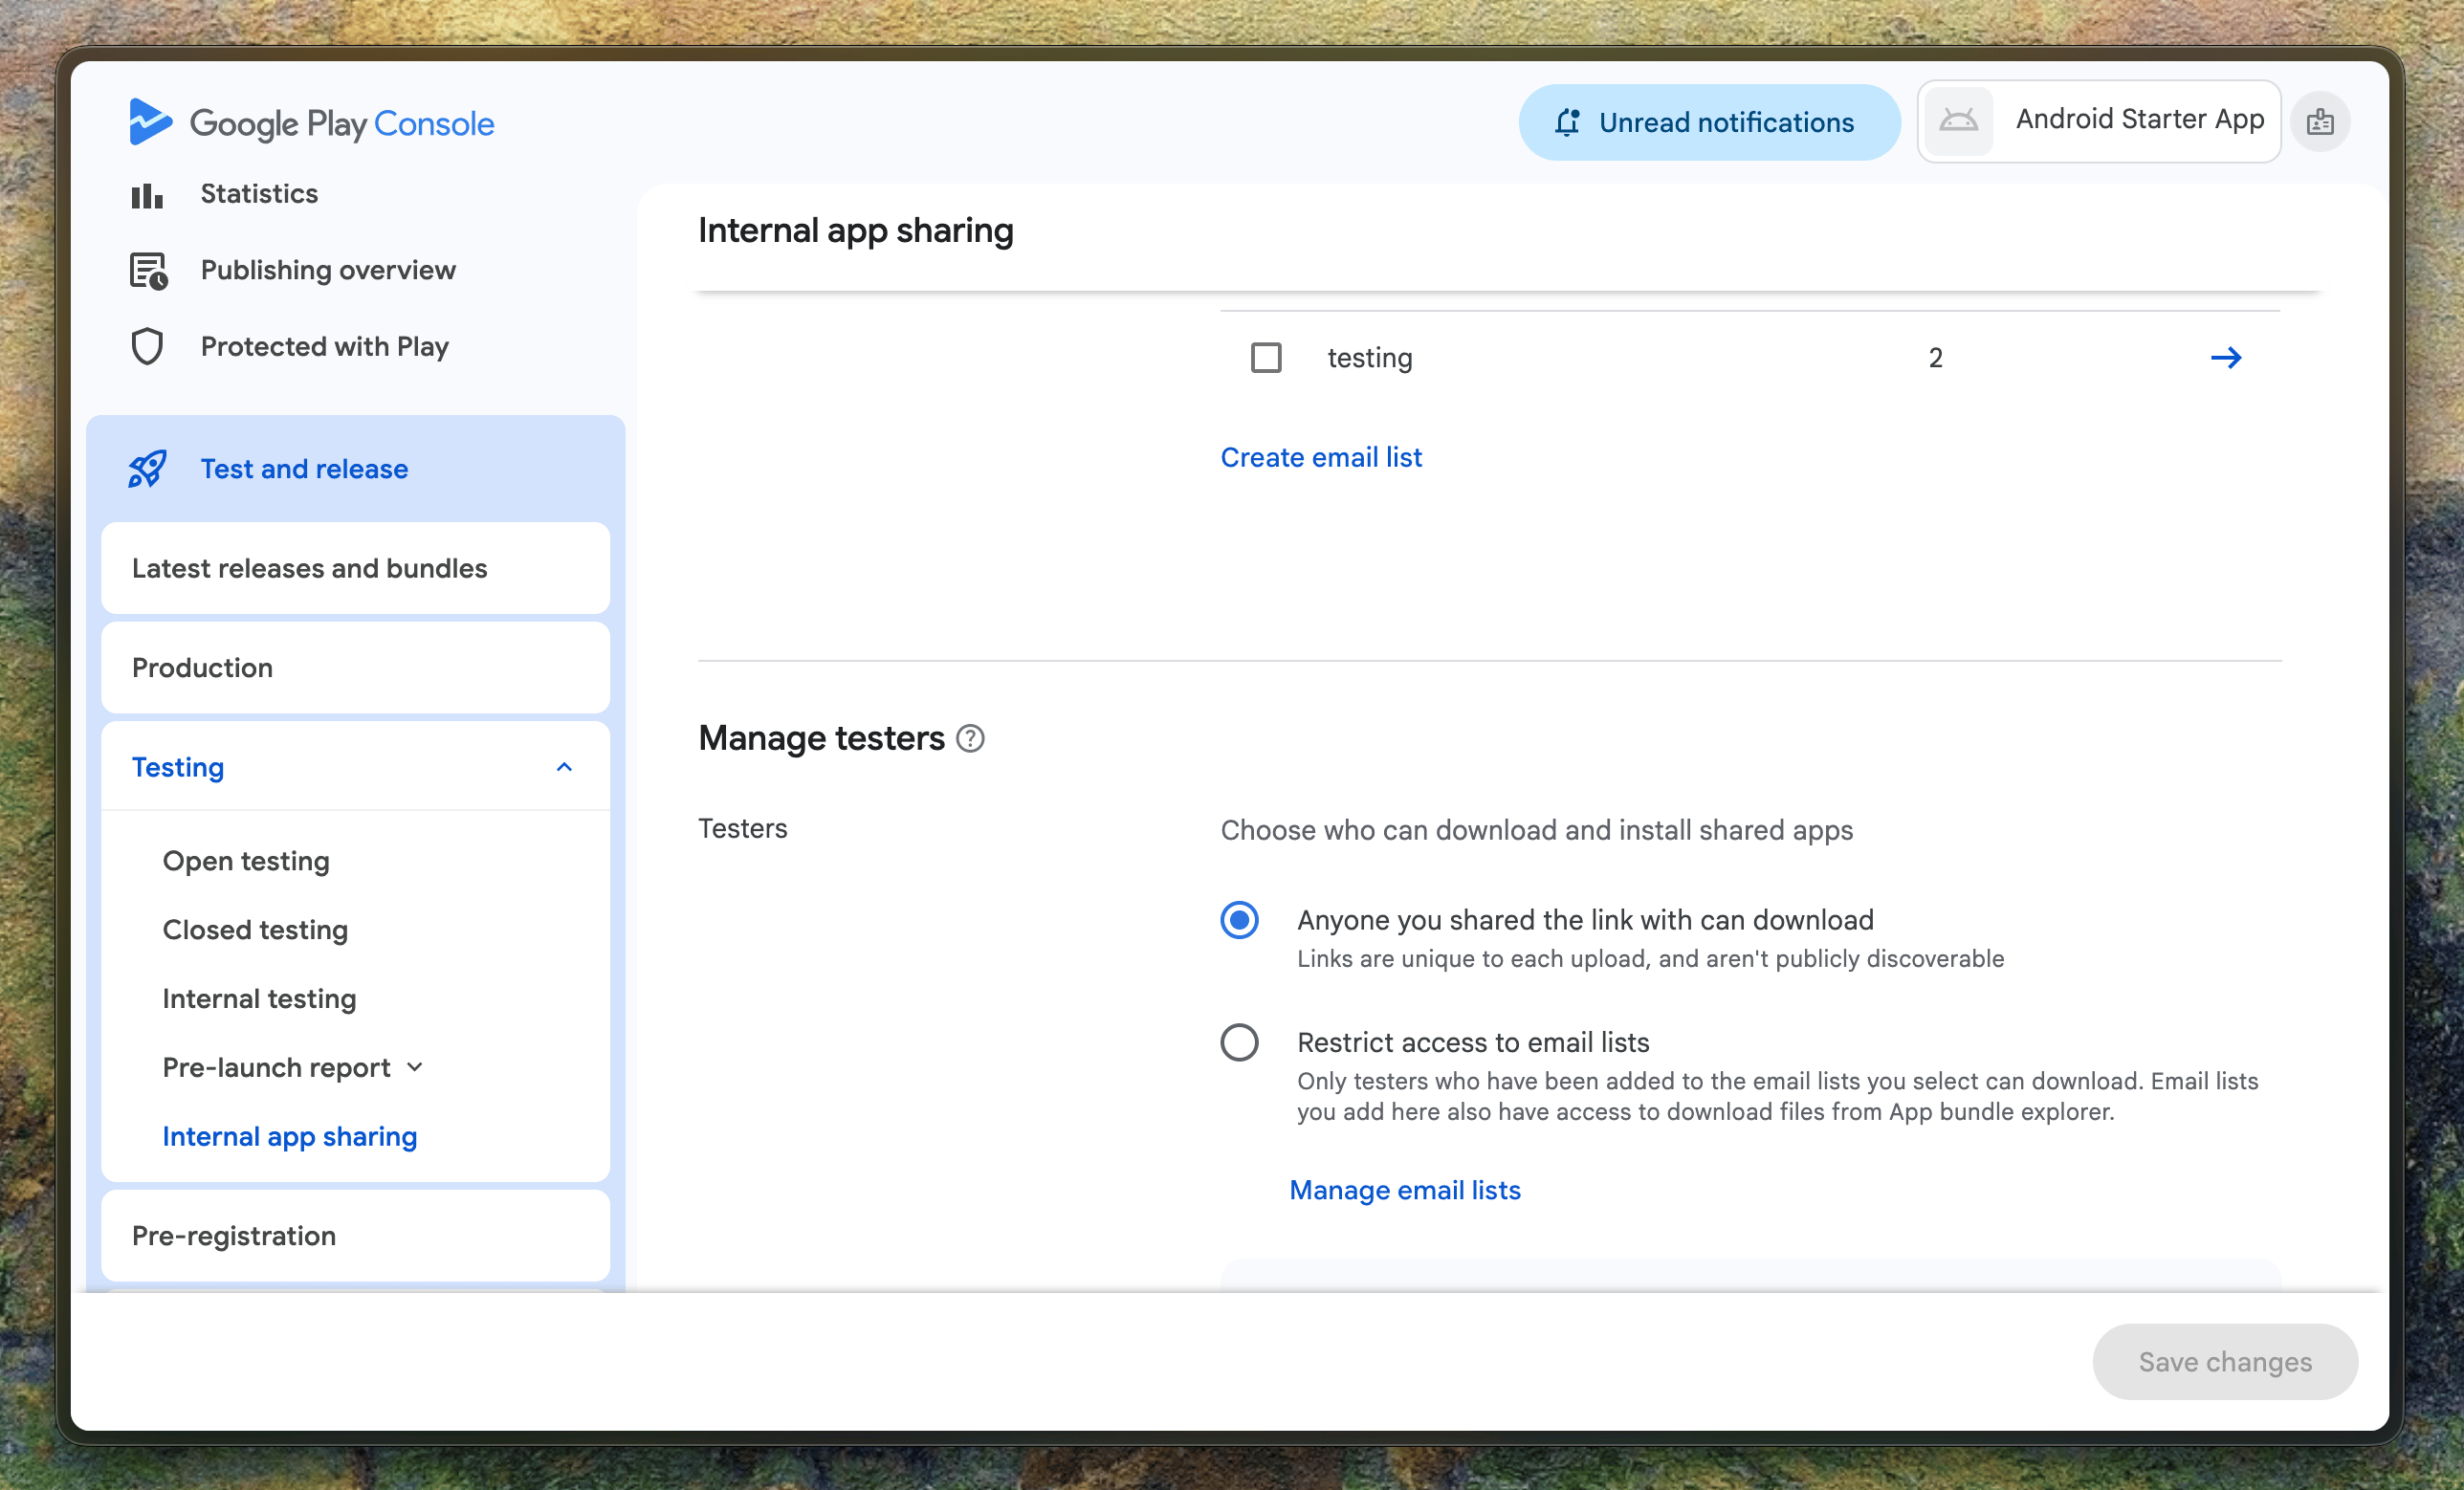
Internal app sharing tab, enable sharing. Allow your email list to access and download your app.9
Complete the store listing and content declarations
Work through the
Dashboard checklist. Items to emphasize for a conversation capture app are:- Data safety
- Permissions declaration: the SDK requires Bluetooth and (on Android 11 and below) location permissions to scan for and connect to Plaud devices.
- Privacy policy
- Store listing assets — app icon (512×512), feature graphic (1024×500), and at least two phone screenshots.
10
Publish!
Once the checklist is complete, submit your production release for review! Google’s review typically takes a few days for a first submission.